Creational Design Patterns - In simple terms
Singleton
The singleton pattern involves creating a constructor that always returns a reference to the first created object of the class. These are helpful when you want to share state between different parts of the software.
1
2
3
4
5
6
7
8
9
10
11
12
13
14
15
16
17
18
19
20
21
22
23
24
type Global = {
  logger?: Logger;
};

const global: Global = { logger: undefined };

class Logger {
  constructor() {
    if (global.logger) {
      return global.logger;
    }

    global.logger = this;
    return this;
  }

  info(message: any) {
    console.log(`[INFO - ${new Date().toDateString()}] ${message}`);
  }
}

const logger = new Logger();

logger.info("Hello, world!");
Now, let’s read through the code above. While there are various libraries for handling logging, there are instances where additional logic is necessary. Therefore, to avoid creating multiple instances of the logger and generating unnecessary work for the garbage collector, we can simply retain the same instance and use it in all parts of our application.
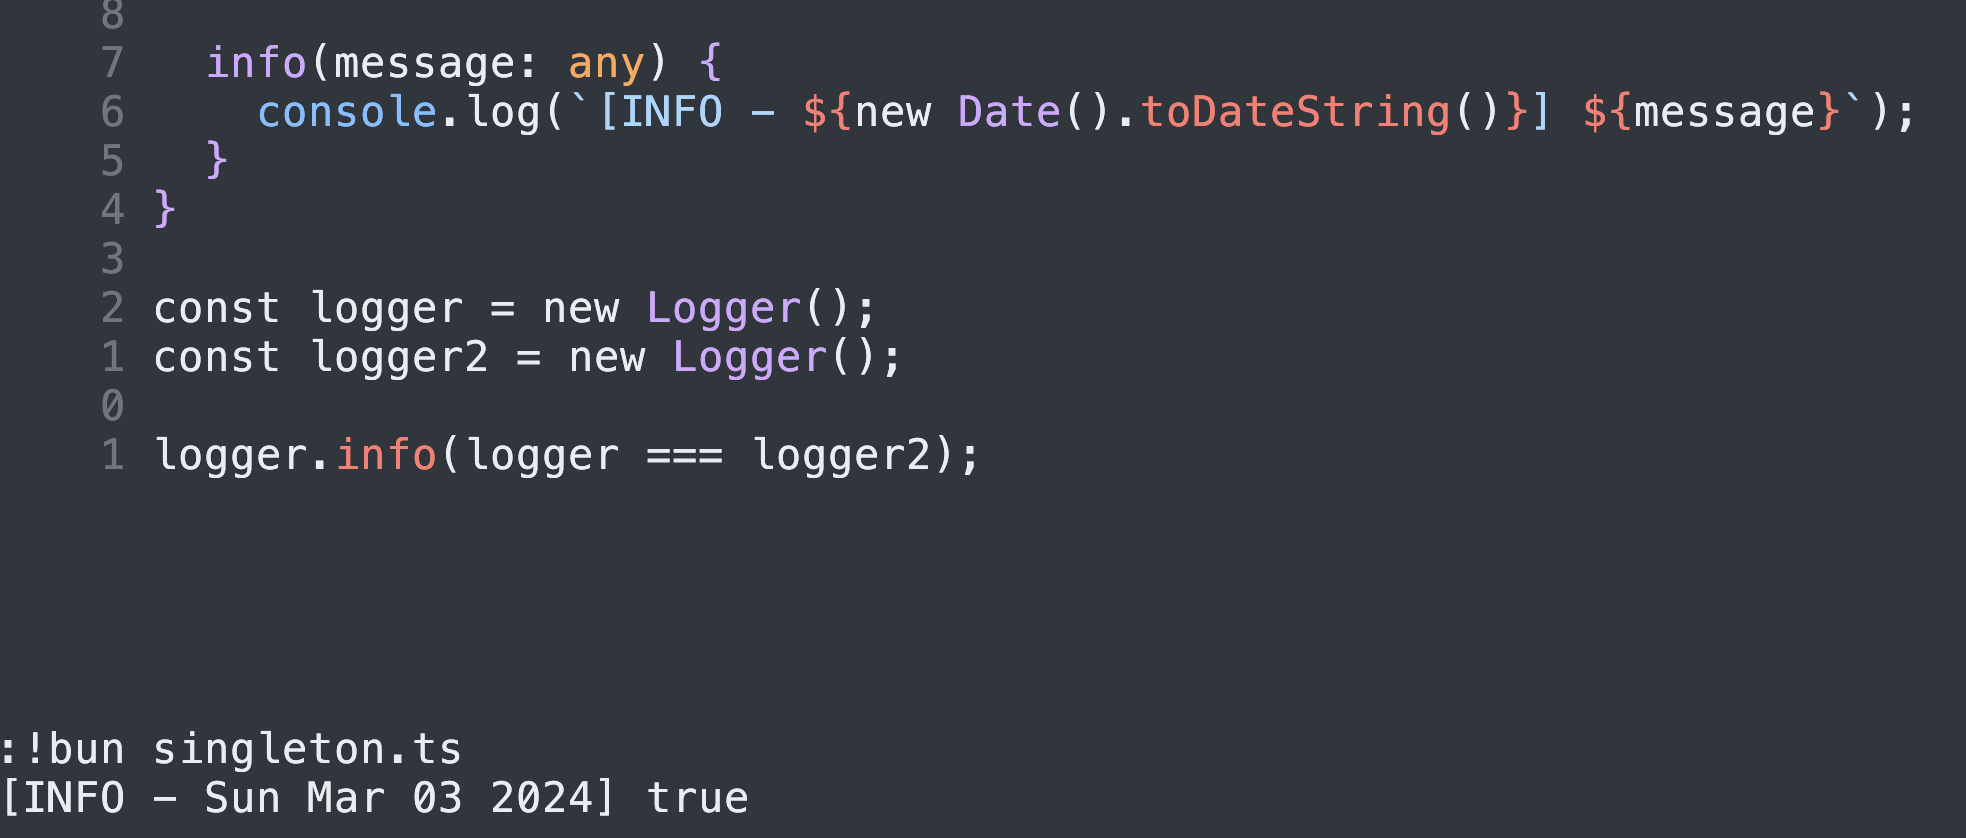
Here we compare the two references, and as you can see, JavaScript returns true meaning that we have fetched the same object when using the constructor both times.
Here’s an example of a real life use case of a singleton class when initializing a Prisma client
Factory Method
The Factory Method design pattern… The first time I encountered this design pattern, I didn’t grasp the fact that when they refer to a method, they mean a class method, not just a way of instantiating objecs. Well, in a sense, it is related to creating objects, but the main point here is that we establish what is known as an abstract factory. This abstract factory essentially provides a hook for creating said objects.
Why do we need this? The Factory Method allows us to separate the object construction logic from the code that actually uses these objects.
In Quickbase, we recently worked on extending the collection of assets our marketplace supports. We have an application where you can upload an asset and make a request towards the backend to have this asset published to different environments.
For the sake of a good example, I rewrote the factory pattern we used there to conform to the design pattern we’re trying to explain here.
1
2
3
4
5
6
7
8
9
10
11
12
13
14
15
16
17
18
19
20
21
22
23
24
25
26
27
28
29
30
31
32
33
34
35
36
37
38
39
abstract class AssetPublishingService {
  abstract publish(): void;
}

class ImagePublishingService extends AssetPublishingService {
  constructor() {
    super();
  }

  publish(): void {
    console.log("Publishing image");
  }
}

class VideoPublishingService extends AssetPublishingService {
  constructor() {
    super();
  }

  publish(): void {
    console.log("Publishing video");
  }
}

abstract class AssetPublishingServiceFactory {
  abstract createService(): AssetPublishingService;
}

class ImagePublishingServiceFactory extends AssetPublishingServiceFactory {
  createService(): AssetPublishingService {
    return new ImagePublishingService();
  }
}

class VideoPublishingServiceFactory extends AssetPublishingServiceFactory {
  createService(): AssetPublishingService {
    return new VideoPublishingService();
  }
}
We first define an abstract base class called AssetPublishingService which has an abstract method called createService. This method will be used by the subclasses to create the corresponding services.
Then, we define the two factories which will accordignly create new objects either of the type VideoPublishingService or ImagePublishingService.
Sounds good. But why?
1
2
3
4
5
6
7
8
9
10
11
12
13
14
15
16
function publishAsset(factory: AssetPublishingServiceFactory) {
  const service = factory.createService();

  service.publish(); // implementation which differs under the hood

  // update upload status in admin app for uploading assets
  // send notifications to clients that a new asset is available in their environment
}

// ...

if (request.type === "image") {
  publishAsset(new ImagePublishingServiceFactory());
} else if (request.type === "video") {
  publishAsset(new VideoPublishingServiceFactory());
}
This allows for flexibility and extensibility in the system, as new services can be created without modifying the code which handles the common functionality for publishing assets. Hence, if we decide to implement logic for publishing assets of type WAV or MP3, the only thing we will have to define is the new asset class with its publishing method accordingly, as well as a new factory. The code in publishAsset stays the same.
Prototype
The prototype, or so called clone pattern, is just simply exposing a hook for deep cloning data from a source.
Let’s imagine the following scenario. You have an in-house API session manager which default exports only one instance of the class. Nevertheless, the class is also exported, allowing you to persist the state in one section of the code without worrying about potential overwrites from another part. If you wish to maintain the current session, you can create a clone.
1
2
3
4
5
6
7
8
9
10
11
12
13
14
15
16
17
18
19
20
21
22
23
24
25
26
27
28
29
30
31
32
33
34
35
36
type UserCredentials = {
  token: string;
};

export class APIStateManager {
  userCredentials: UserCredentials;

  async clone(APIStateManager: APIStateManager) {
    this.userCredentials = APIStateManager.userCredentials;
  }

  async login(username: string, password: string) {
    const response = await fetch("/login", {
      body: JSON.stringify({
        username,
        password,
      }),
    });

    return response;
  }

  async get(endpoint: string, body: Record<string, unknown>) {
    const response = await fetch(endpoint, {
      body: JSON.stringify(body),
      headers: {
        Authorization: `Bearer ${this.userCredentials.token}`,
      },
    });

    return response;
  }
}

const apiManager = new APIStateManager();
export default apiManager;
Let’s imagine you have two separate request handlers, and one request handler uses the login right before the other handler invokes the get method. The credentials will be overwritten and the second’s handlers invocation will fail. In order, to persist two separate sessions, we have to create a new instance and use the other one as a prototype.
1
2
3
4
const apiManagerClone = new APIStateManager();
apiManagerClone.clone(apiManager);

await apiManagerClone.get("/hello", { name: "Someone" });
Now, with this approach, we can confidently proceed, knowing that sessions won’t be overwritten.
Builder
The builder pattern is a design pattern that facilitates the construction of complex objects by separating the construction process from the actual representation. This pattern is particularly useful when an object has a large number of possible configurations, and you want to provide a clear and fluent API for constructing it.
Recently I had to develop an in-house ORM for Firestore, where the structure of data collections and subcollections is pretty much the same, but the collection references are defined a bit differently.
To establish a connection between a subcollection and its parent, the process involves initially creating the parent collection. Subsequently, the builder pattern is applied to shape the parent collection into its specific subcollection, ensuring a cohesive relationship between them.
1
2
3
4
5
6
7
8
9
10
export class BaseFirestoreService<RequiredSchema extends CollectionSchema> {
    protected collectionRef: CollectionReference;

    constructor(col: string) {
        this.setCollection(col);
    }

    protected setCollection(col: string) {
      this.collectionRef = collection(db, col)
    }
Now, let’s see it in action.
1
const userService = new BaseFirestoreService<UserCollection>();
But how do we mold this collection in the order subcollection? We need the following piece of code:
Our builder pattern:
1
2
3
4
5
6
7
8
9
10
11
12
subcollection<T extends keyof RequiredSchema["subcollections"]>(
    subcollectionName: T,
    documentId: string
) {
    return new BaseFirestoreService<
        RequiredSchema["subcollections"][T] extends CollectionSchema
            ? RequiredSchema["subcollections"][T]
            : never
    >(
        `${this.collectionRef.path}/${documentId}/${String(subcollectionName)}`
    );
}
Creating a new instance of the class aligns with our commitment to enforcing type safety within the ORM. However, in certain scenarios, the builder pattern directly incorporates the modifications into the existing instance.
For example:
1
2
3
4
subcollection(subcollectionName, documentId) {
  this.collection = `${this.collectionRef.path}/${documentId}/${String(subcollectionName)}`;
  return this;
}
And here’s how we actually use it:
1
2
3
const orderService = userService.subcollection("orders", "102391329");

orderSerivce.get("1029392381");
Abstract Factory
We use this design pattern when we want to have different implementations which can be grouped under the same high-level concept. Imagine a GUI which has to render different style of components based on the selected theme. In order to achieve single responsibility and avoid tight coupling.
We define factories which can then be plugged into the application:
1
2
3
4
5
6
7
8
9
10
11
12
13
14
15
16
17
18
19
20
21
22
23
24
class ThemeFactory {
  createButton() {}
  createInput() {}
}

class LightThemeFactory extends ThemeFactory {
  createButton() {
    return new LightButton();
  }

  createInput() {
    return new LightInput();
  }
}

class DarkThemeFactory extends ThemeFactory {
  createButton() {
    return new DarkButton();
  }

  createInput() {
    return new DarkInput();
  }
}
Here’s an example implementation of the buttons and inputs:
1
2
3
4
5
6
7
8
9
10
11
12
13
14
15
16
17
18
19
20
21
22
23
24
25
26
27
28
29
30
31
class Button {
  render() {}
}

class LightButton extends Button {
  render() {
    console.log("Rendering light button");
  }
}

class DarkButton extends Button {
  render() {
    console.log("Rendering dark button");
  }
}

class Input {
  render() {}
}

class LightInput extends Input {
  render() {
    console.log("Rendering light input");
  }
}

class DarkInput extends Input {
  render() {
    console.log("Rendering dark input");
  }
}
Plugging the factory into the application:
1
2
3
4
5
6
7
8
9
10
11
12
13
14
15
function createUI(themeFactory) {
  const button = themeFactory.createButton();
  const input = themeFactory.createInput();

  button.render();
  input.render();
}

const lightThemeFactory = new LightThemeFactory();
createUI(lightThemeFactory);

// or

const darkThemeFactory = new DarkThemeFactory();
createUI(darkThemeFactory);
Comprehending the difference between the Factory Method and the Abstract Factory is a bit hard. Abstract Factory is pretty much an extension of the Factory Method where an additional layer of abstraction is added. Here’s a link to some linkedin posts which make good points about the difference between the two.